


The Ergonomic Desk Setup Guide: Monitor, Chair, Keyboard & Mouse
Most people adjust their chair once, shove the monitor wherever it fits, and then spend years wondering why their neck aches, their wrists burn, or their back feels like it has aged a decade ahead of schedule. The truth is, a poorly configured desk setup is one of the leading causes of chronic discomfort for gamers, remote workers, and anyone who logs serious hours at a computer. An ergonomic desk setup is not about buying expensive furniture — it is about understanding how your body interacts with every piece of equipment, from the height of your monitor to the angle of your keyboard tray.
This guide breaks down the complete ergonomic equation: chair adjustment, desk height, monitor positioning, keyboard placement, and mouse ergonomics. Whether you are building your first performance workstation or fine-tuning a setup you have had for years, these principles will help you eliminate pain points, improve posture, and unlock longer, more productive sessions. Let's get into it.
Why Ergonomics Matter More Than You Think
Ergonomics is the science of designing workspaces that fit the human body — not the other way around. When your setup forces your body into unnatural positions, it triggers a cascade of problems: muscle fatigue, joint compression, reduced circulation, and over time, repetitive strain injuries like carpal tunnel syndrome or cervical spondylosis. Studies from occupational health researchers consistently link prolonged static posture at poorly configured desks to musculoskeletal disorders that affect productivity and quality of life well beyond the workstation.
For gamers, the stakes are even higher. Competitive play demands razor-sharp reaction times and sustained focus across hours-long sessions. Discomfort is not just a minor inconvenience — it actively degrades performance, pulling attention away from the game and toward the pain signal. An optimized ergonomic desk setup is, in effect, a performance upgrade. You are not just protecting your body; you are removing friction between your brain and your inputs.
Start With the Chair: Your Ergonomic Foundation
Every element of your setup references back to the chair because the chair determines the position of your hips, which sets the angle of your spine, which dictates the height of your shoulders, which controls the reach of your arms. Get the chair wrong and every other adjustment becomes a compensatory patch. Getting it right means everything else snaps into place with minimal effort.
How to Adjust Your Chair Correctly
Sit fully back in the seat so that your lower back is in contact with the lumbar support. Your feet should rest flat on the floor — not dangling and not tucked under the chair. Aim for a hip and knee angle of approximately 90 to 100 degrees, with a slight forward tilt in the pelvis to preserve the natural lumbar curve. If your feet do not reach the floor after correct height adjustment, a footrest is a legitimate ergonomic solution.
Armrests deserve more attention than they typically get. Set them so your forearms rest parallel to the desk surface with your shoulders relaxed and dropped — not shrugged upward. Armrests that are too high will push your shoulders toward your ears; too low and you lose support entirely, forcing your traps to carry the load of your arms all day. Blacklyte's full lineup ships with 4D armrests across all chair series, giving you independent control over height, width, depth, and angle to dial in that precise neutral position. You can explore the full range of options on the Blacklyte gaming chairs page.
What to Look for in a Chair's Ergonomic Features
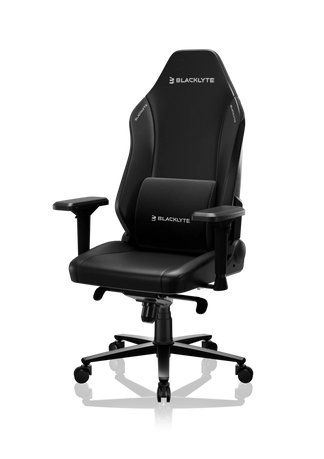
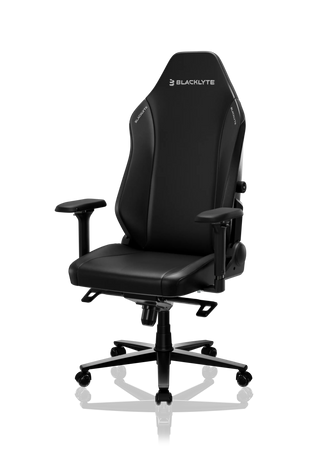
- Lumbar support: Built-in adjustable lumbar is superior to a pillow for long sessions, as it moves with the chair and maintains contact through recline. The Athena Pro features a 4-way adjustable built-in lumbar (up/down and front/back), while the Kraken Pro offers a floating lumbar with front/back fine-adjustment and lock. The entry-level Athena includes an external lumbar pillow for adaptable positioning.
- Recline range: All current Blacklyte chair models recline from 90° to 149°, covering upright work posture through full rest position.
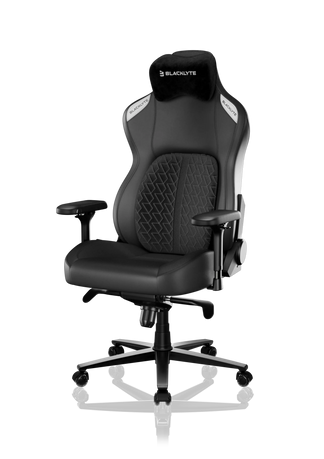
- Seat foam quality: Look for high-density cold-cure foam. Blacklyte chairs use high-density cold-cure foam that offers firm, resilient support and holds its shape over years of use. The flagship Athena Pro goes further with memory foam over a contour-foam core, infused with bamboo charcoal and silver ions for temperature regulation and hygiene.
- Base stability: The Athena Pro and Kraken Pro feature aluminum alloy bases; the Athena uses a steel base. A Class 4 hydraulic gas piston provides smooth, reliable height adjustment.
- Tilt mechanism: Blacklyte chairs use a frog-type tilt mechanism with adjustable tilt tension, allowing the backrest to lean back approximately 14° for dynamic micro-movement during extended sessions.
Not sure which chair is right for your setup and budget? The Blacklyte chair comparison tool lets you stack specs side by side across the full lineup.
Desk Height and Surface Setup
Once your chair is dialed in, desk height follows a simple rule: with your chair correctly adjusted, your elbows should sit at or just below desk surface level when your arms hang relaxed at your sides. This positions your forearms roughly parallel to the floor during typing and mousing, which is the neutral wrist position that minimizes tendon strain. For most adults, this lands somewhere between 70 and 76 cm, but individual variation is significant enough that a one-size desk will compromise posture for a large portion of users.
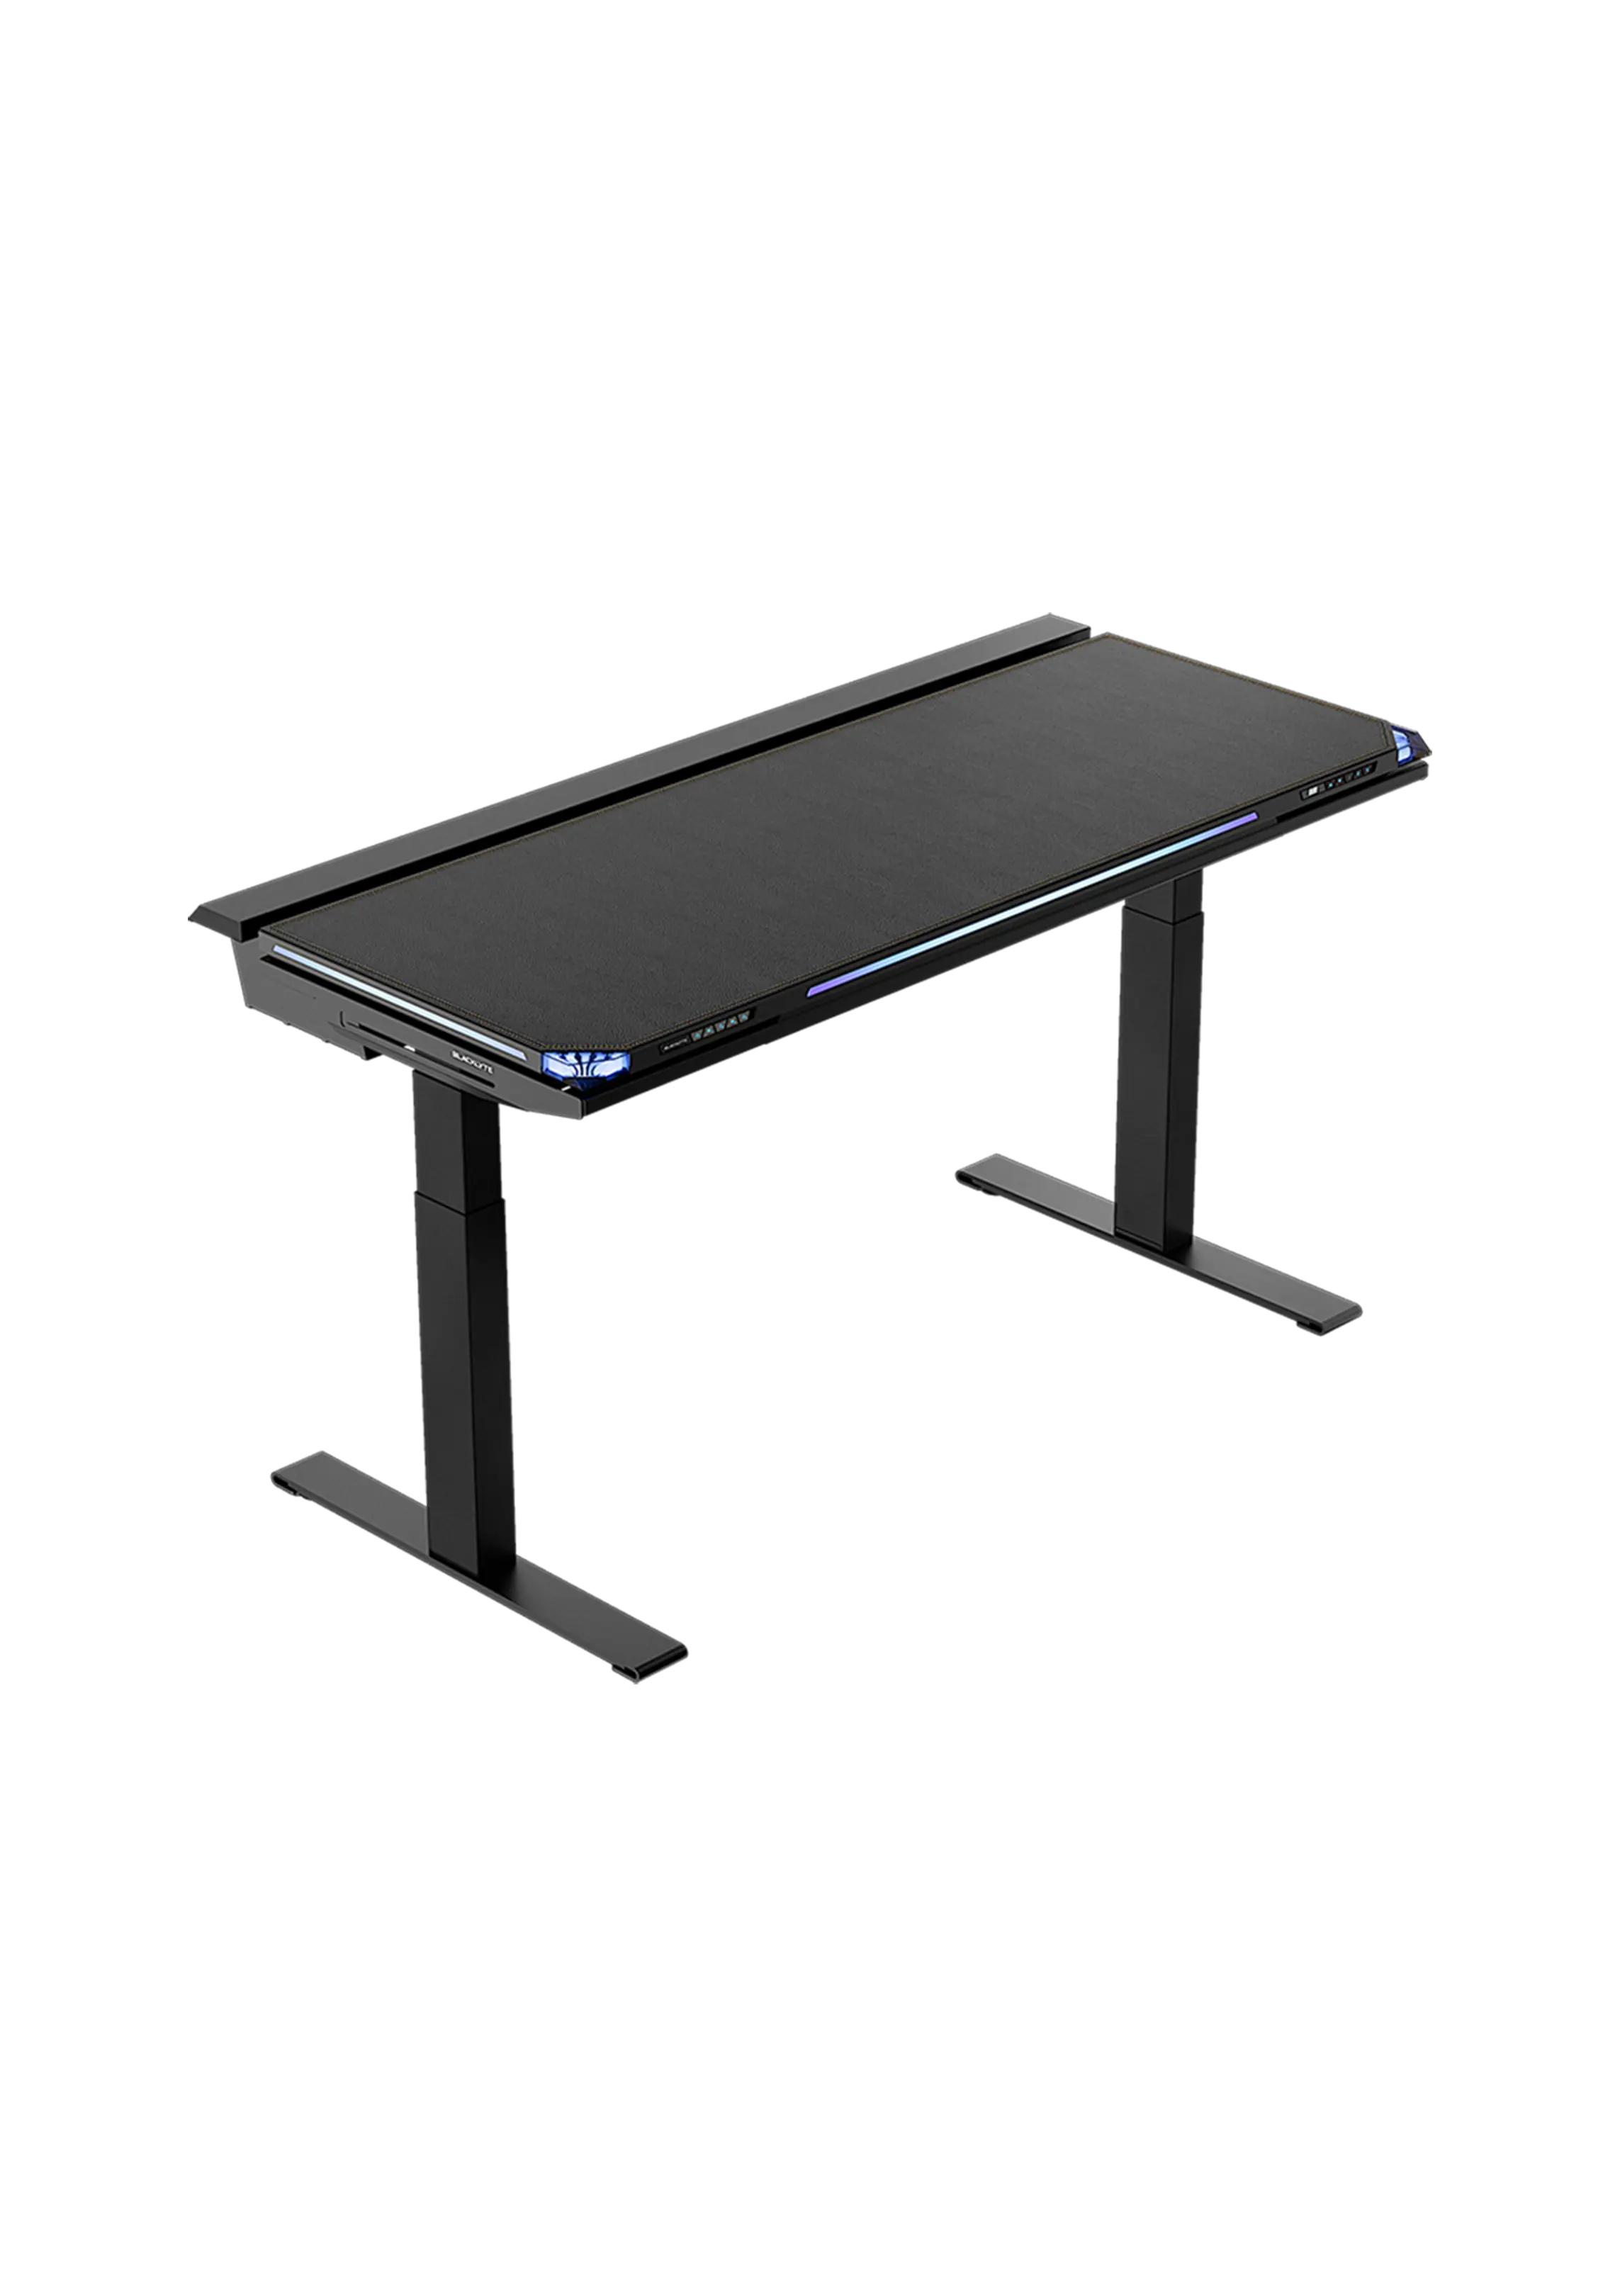
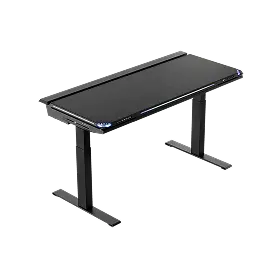
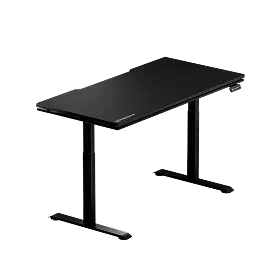
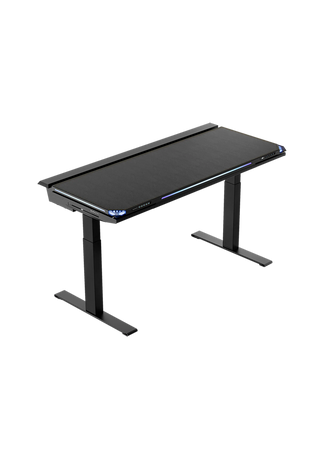
This is where a height-adjustable standing desk becomes a genuine ergonomic tool rather than a marketing trend. The ability to shift between seated and standing positions throughout the day breaks up static muscle loading, improves circulation, and reduces the compressive load on lumbar discs. Blacklyte's Atlas and Atlas Lite Standing Desks offer motorized height adjustment with programmable presets, so switching between your seated and standing heights takes a single button press. The Atlas Desk also includes integrated cable management, a magnetic surface, and smart lighting controls via the Atlas Driver software — keeping your workspace clean and distraction-free, which is an underrated ergonomic factor in its own right.
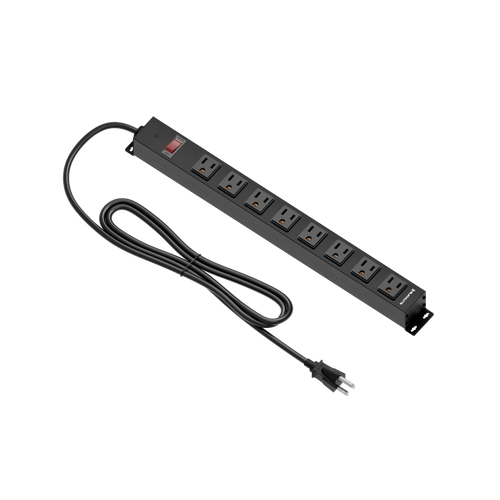
On the desk surface itself, keep only what you regularly use within arm's reach. Overreaching repeatedly — for a phone, a mug, a secondary controller — accumulates shoulder strain over time. Cable clutter also matters: tangled cables force awkward mouse movements and create visual noise that adds low-level cognitive load.
Monitor Positioning: Eyes, Distance, and Angle
Incorrect monitor placement is one of the most common and consequential ergonomic mistakes. When the screen is too low, you flex your neck forward and downward for hours, compressing the cervical vertebrae and overloading the posterior neck muscles. When it is too high, you extend your neck upward, creating a different but equally damaging strain pattern. The target: the top of the monitor bezel should sit at or just below natural eye level when you are seated in your correctly adjusted chair.
Monitor Distance and Angle Guidelines
- Distance: Position the monitor approximately an arm's length away — typically 50 to 70 cm from your eyes. Closer distances force your eyes to work harder to focus; too far and you lean forward to compensate.
- Tilt: A slight backward tilt of 10 to 20 degrees aligns the screen surface more perpendicularly with your line of sight, reducing the need to tilt your neck down.
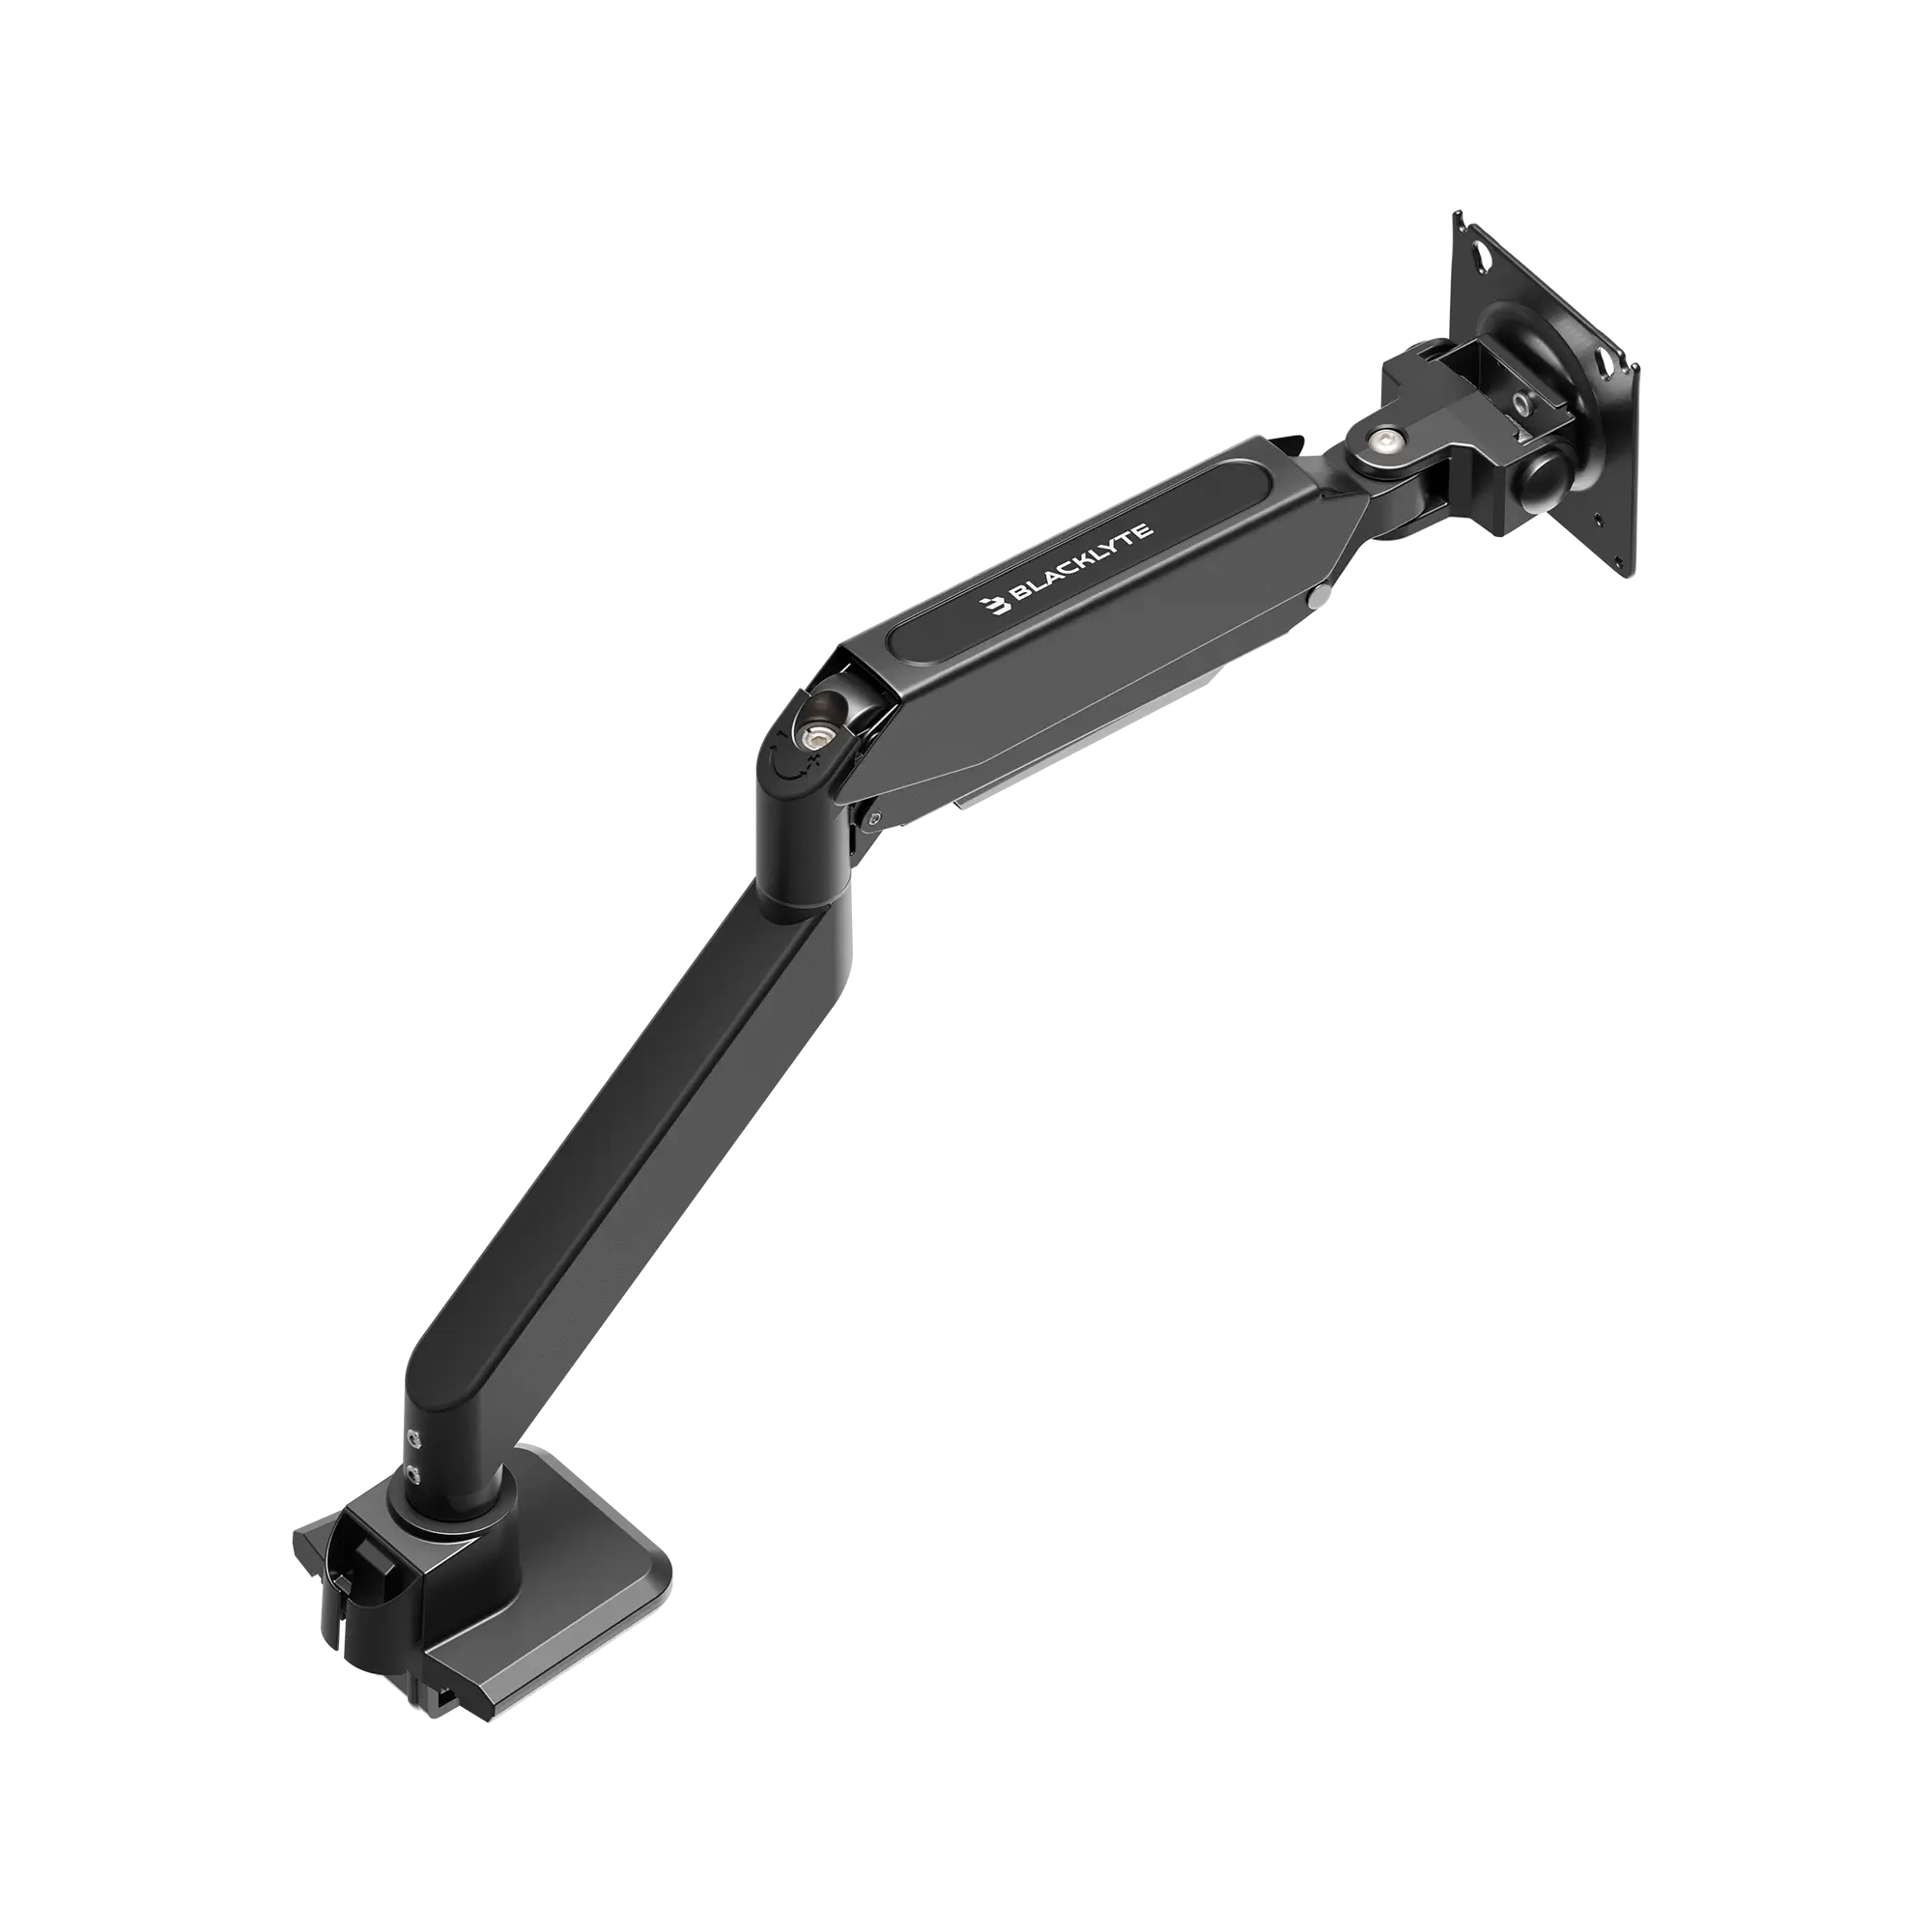
- Height: If your monitor stand does not reach the right height, a monitor arm is one of the highest-ROI accessories you can add to an ergonomic setup. It also frees up desk real estate.
- Dual monitors: If you use two screens equally, center them both with a slight inward angle so they form a subtle arc. If one is primary, center that one in front of you and place the secondary off to the side at a comfortable rotation angle.
- Glare control: Position the monitor perpendicular to windows rather than facing them. Glare causes squinting and subtle forward head posture as your eyes try to compensate for the poor contrast.
Explore Blacklyte's accessories for monitor arms, desk pads, and cable management solutions that support a clean, properly positioned workstation.
Keyboard Placement for Wrist and Shoulder Health
The keyboard's job is to keep your wrists in a neutral, flat position while your elbows stay close to your torso. When a keyboard is pushed too far forward, you reach with your shoulders and pronate your wrists into extension — a position that strains the tendons and the median nerve over time. The keyboard should sit close enough to the edge of the desk that your elbows remain roughly at your sides, not extended out in front of you.
Keyboard tilt is a frequently overlooked variable. Most keyboards sit flat or with a positive tilt (back edge raised, which actually increases wrist extension for most people). A negative tilt — back edge slightly lower than the front — encourages a more neutral wrist angle during typing. If your desk does not support a negative tilt tray, keeping the keyboard flat with no tilt legs deployed is typically better than using the standard raised position.
For gamers specifically, consider that gaming keyboards are often wider due to numpad inclusion, which pushes the mouse further from the body centerline. A tenkeyless or compact layout moves the mouse closer in, reducing shoulder abduction and making the overall arm position more natural during extended play sessions.
Mouse Ergonomics: Grip, Reach, and Pad Size
The mouse is the most dynamic input device on your desk, and the repetitive micro-movements it demands make wrist and forearm health a real concern over long sessions. The core principle: keep the mouse close to the body, on the same plane as the keyboard, and choose a mouse size that allows a relaxed hand grip rather than a pinched or strained one. A mouse that is too small causes the palm to hover without support; one that is too large forces an awkward reach that strains the fingers.
Mouse Setup Checklist
- Height: The mouse surface should be at the same height as the keyboard, keeping the forearm on a consistent plane.
- Grip style: Palm grip distributes pressure across the whole hand and is generally the most ergonomic for long sessions. Claw and fingertip grips offer precision advantages but increase finger tendon load.
- Mouse pad size: A large or extended desk pad allows low-DPI, whole-arm mousing movements, which distribute workload from the wrist and fingers to the larger muscles of the shoulder and upper arm — a significantly more sustainable motion pattern.
- DPI and sensitivity: Higher DPI settings require less physical movement, reducing repetitive wrist travel. Many ergonomists and competitive coaches recommend finding the highest DPI at which you maintain accuracy, rather than defaulting to the lowest setting.
- Wrist rest: A soft wrist rest during pauses (not during active movement) can reduce fatigue. Avoid resting the wrist on a hard surface while the mouse is in motion, as this creates a pivot point that increases tendon loading.
Tying It All Together: The Full Ergonomic Checklist
Ergonomics works as a system. Each adjustment affects the others, so it is worth running through a full-setup calibration whenever you move workstations, get new furniture, or notice recurring discomfort. Use this sequence:
- Adjust your chair height first — feet flat on the floor, hips and knees at approximately 90–100°, lower back in contact with lumbar support.
- Set desk height — elbows at or just below desk surface with shoulders relaxed.
- Position monitor — top of bezel at eye level, approximately 50–70 cm away, slight backward tilt.
- Place keyboard close to the body — flat or negative tilt, elbows at your sides, wrists neutral.
- Set mouse on same plane as keyboard — close to the body, appropriately sized, large pad preferred.
- Adjust armrests — forearms supported parallel to the desk, shoulders dropped and relaxed.
- Check for screen glare — reposition monitor or close blinds as needed.
- Do a posture check — sit back fully, relax your shoulders, and assess whether anything still feels forced or strained.
For a deeper dive into ergonomic principles tailored specifically to workstation performance, visit the Blacklyte Ergonomics Hub. And if you are setting up for gaming specifically, the Gaming Hub offers performance-focused ergonomic guidance built around competitive play.
When to Upgrade Your Setup
Even a perfectly configured ergonomic setup has a ceiling defined by the quality of the equipment. A chair with compressed foam, a fixed-height desk, or peripherals that do not fit your hand size will limit how well any adjustment can work. There are clear signals that it is time to invest in better gear: persistent discomfort that does not resolve after correct adjustment, foam that no longer springs back after sitting, a desk that cannot reach the right height, or peripherals that feel awkward regardless of positioning.
When upgrading, prioritize the chair and desk first — they are the structural foundation of the entire setup. Blacklyte's gaming chair lineup spans the premium Kraken Pro, the flagship Athena Pro, and the entry-level Athena — giving you performance materials at every tier. The desk comparison tool makes it straightforward to match the Atlas or Atlas Lite to your space and feature requirements. Backed by warranties extendable up to 5 years on chairs and desks, free shipping, and 30-day easy returns, the upgrade path is low-risk and built to last.
You can also check current pricing and bundle options on the Blacklyte promotions page — the lineup trusted by over 200,000 gamers across 50+ Countries & Regions, and backed by partnerships with esports organizations including Team Liquid, Fnatic, and tournament organizer BLAST.
The Bottom Line
An ergonomic desk setup is not a one-time task — it is an ongoing calibration of the relationship between your body and your workspace. Start with the chair, work outward to the desk, monitor, keyboard, and mouse, and treat every adjustment as part of a connected system. The payoff is significant: less pain, more endurance, sharper focus, and the kind of long-session sustainability that separates serious setups from casual ones. Whether you are grinding ranked matches or pushing through a full remote workday, the right ergonomic foundation makes every hour at the desk more productive and far less costly on your body.
Ready to Build Your Ideal Ergonomic Setup?
Explore Blacklyte's full lineup of ergonomic gaming chairs, height-adjustable standing desks, and performance accessories — engineered for the way serious gamers and professionals actually work. Not sure where to start? Our team is ready to help you find the perfect fit.
Contact Us Shop All Products