












A tangled nest of cables. A desk buried under peripherals. RGB strips that clash rather than complement. Sound familiar? Most gaming setups start with great intentions and slowly drift into organized chaos — and the irony is that all that visual noise can actually chip away at your focus and your enjoyment of the space. A minimalist gaming setup isn't about owning less. It's about being intentional with what you keep, how you organize it, and what your battlestation communicates the moment you sit down.
In this guide, we're breaking down everything you need to build a clean, cable-free gaming station — from choosing the right desk and ergonomic chair to mastering cable routing, selecting a cohesive aesthetic, and picking accessories that pull their weight. Whether you're starting from scratch or decluttering an existing setup, you'll find actionable ideas here to transform your gaming space into something that looks as sharp as it performs.
Why a Minimalist Gaming Setup Actually Performs Better
There's a practical case to be made for going minimal, and it goes well beyond aesthetics. Research consistently links cluttered environments to elevated stress and reduced cognitive performance — your brain expends low-level effort processing visual noise in the background, even when you're focused on a task. For competitive gamers, that background tax matters. A clean desk with only what you need in front of you keeps your attention where it belongs: on the screen.
There's also a maintenance argument. Fewer items on the desk means fewer things to move when you're cleaning, fewer cables to trace when something stops working, and fewer dust traps hiding under a pile of gear. Minimalism, done right, makes your setup easier to use, easier to maintain, and easier to upgrade. Once you've built a clean battlestation, you'll find it genuinely hard to go back.
Start With the Right Foundation: Desk and Chair
The single most impactful decision in a minimalist gaming setup is the desk. Everything else — cable routing, monitor placement, accessory layout — flows from the desk you choose. A desk with built-in cable management transforms the whole project. Without it, you're constantly fighting the hardware rather than working with it.
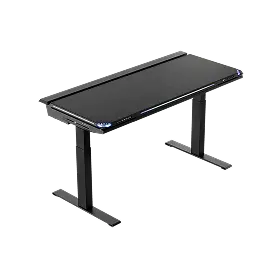
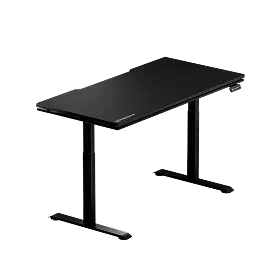
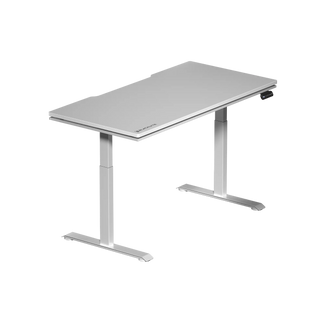
Blacklyte's Atlas Standing Desk and Atlas Lite Standing Desk are engineered with exactly this philosophy. Both feature integrated cable management channels and a built-in electrical socket, so you can route power and peripherals cleanly through the desk. The Atlas adds a magnetic surface system that lets you snap on accessories without drilling or taping anything down, along with Atlas Driver software for programmable height presets and smart lighting controls — so you can switch between sitting and standing without thinking, and without disturbing the clean visual lines of your build. If you're comparing options, the desk comparison page breaks down both models side by side.
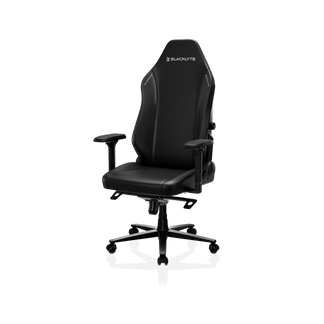
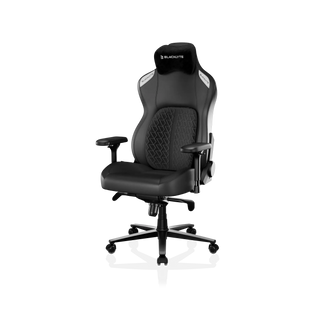
Your chair is the other non-negotiable. Ergonomics and minimalism share a core value: nothing wasted, everything purposeful. Blacklyte's gaming chair lineup — the Kraken Pro (premium tier), Athena Pro (flagship), and Athena (entry-level) — all ship with 4D armrests across the full lineup, a frog-type tilt mechanism with adjustable tension, and a Class 4 hydraulic gas piston for smooth, precise height adjustment. The chairs recline from 90° to 149°, covering everything from upright competitive play to a relaxed lean-back session.
Lumbar support is where the models differentiate themselves. The Kraken Pro offers a built-in floating lumbar with front/back fine-adjust and lock. The Athena Pro features a built-in 4-way adjustable lumbar system with both height and depth control, plus a seat cushion that layers memory foam over a contour-foam core infused with bamboo charcoal and silver ions. The Athena includes an external lumbar pillow. For a minimalist setup, built-in lumbar support keeps the silhouette cleaner by eliminating add-on pillows — worth factoring into your decision. You can compare all three chairs here.
Cable Management Strategies That Actually Work
Cable management is where most minimalist builds succeed or fall apart. The goal isn't to hide every cable at any cost — it's to route cables logically so they're invisible from your natural sightlines and easy to access when you actually need them. Here's how to approach it systematically:
- Audit before you route. Unplug everything and lay it out. Identify which cables are essential, which can be replaced with wireless alternatives, and which are duplicates you don't need.
- Go wireless where it counts. A wireless keyboard and mouse eliminate two of the most visible desk cables instantly. A wireless headset removes a third. These three swaps alone make a dramatic visual difference.
- Use your desk's built-in management first. If your desk has integrated cable channels (like the Atlas lineup), run every cable through them before considering external solutions. Built-in routing is always cleaner than adhesive clips.
- Velcro ties over zip ties. Velcro cable ties are reusable and adjustable. Zip ties are permanent and often leave cables kinked. Use Velcro for anything you might need to change.
- Cable raceways for wall runs. If you have cables running to a wall outlet or wall-mounted monitor, a slim cable raceway painted to match your wall makes them nearly invisible.
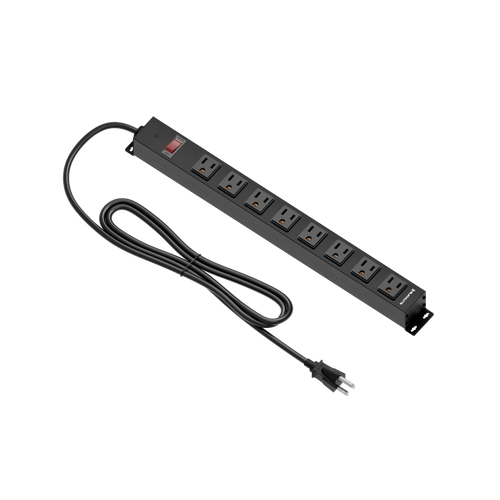
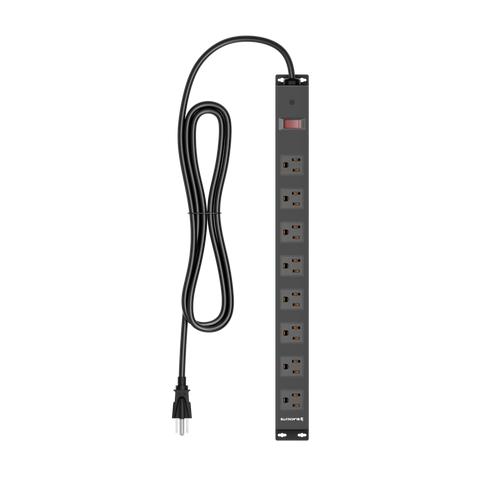
- Power strip placement matters. Mount your power strip under the desk or on the desk's rear rail, not on the floor. This shortens the cable runs to all your peripherals and keeps the floor clean.
- Label your cables. Sounds small, but a label on each cable end means you'll never need to trace the full run again. This is especially useful for a setup you expect to evolve over time.
A desk with a built-in electrical socket — like the Atlas — takes most of this work off your plate. When your power strip is integrated into the desk, there's literally one cable running from the desk to the wall. Everything else stays routed through the desk. That's the closest you can get to a genuinely cable-free battlestation without a custom build.
Minimalist Aesthetic Styles for Your Battlestation
Minimalism isn't a single look — it's a constraint that you apply to different visual languages. Here are four of the most popular interpretations for gaming setups, each with a distinct feel:
All-Black (Stealth)
Monochromatic black is the most popular minimalist gaming aesthetic for a reason: it makes everything look intentional and cohesive. A black desk, black chair, black peripherals, and dark walls create a focused, high-contrast environment. The only risk is that dust and fingerprints show easily on matte black surfaces — a microfiber cloth becomes your best friend. The Kraken Pro's DuraGen™ Leatherette and the deep color options available across Blacklyte's gaming chair range make this aesthetic effortlessly achievable.
White and Light (Clean Slate)
White setups photograph beautifully and create a sense of spaciousness that darker builds can't match. The challenge is keeping everything truly clean — white surfaces show every smudge. If your desk, chair, and walls share a light palette, even modest cable management produces a dramatic result because there's nothing to hide behind. This look pairs naturally with soft, warm accent lighting rather than bright RGB.
Japandi (Natural and Calm)
Japandi blends Japanese minimalism with Scandinavian warmth — natural wood tones, organic textures, and carefully considered negative space. For a gaming setup, this translates to a wood-finish or white desk, a chair in a neutral fabric, and a handful of natural accents like a small plant or a wooden tray to corral your peripherals. Blacklyte's FlexKnit™ Fabric upholstery options in the Athena Pro complement this aesthetic particularly well, offering texture and warmth without competing with the natural material palette.
Industrial (Raw and Purposeful)
Industrial minimalism leans into exposed materials — metal frames, concrete surfaces, matte finishes — while stripping out anything decorative. This style suits gamers who want a setup that reads as serious and uncompromising. Cable management is critical here because the aesthetic relies on intentional material choices, not camouflage. Every visible element should look deliberate. A height-adjustable metal desk paired with a dark leatherette chair hits this look precisely.
Accessories That Earn Their Place on Your Desk
In a minimalist setup, every accessory needs to justify its presence. The test is simple: does this thing make you perform better, feel better, or keep the desk cleaner? If the answer isn't clearly yes, it probably belongs in a drawer or off the desk entirely. That said, a few categories of accessories genuinely earn their spot:
- Monitor arm: Lifts your screen off the desk, frees up surface space, and improves neck alignment. One of the highest-value minimalist upgrades you can make.
- Large desk mat: A single, full-coverage desk mat unifies the surface visually and reduces the number of individual items you're managing (no separate mouse pad, no coasters).
- Under-desk headphone hook: Keeps your headset accessible without occupying desk real estate. Magnetic variants attach without tools and leave no permanent marks.
- Vertical PC mount: If you have a desktop tower, mounting it vertically under or beside the desk dramatically cleans up the floor space and improves airflow.
- Desk lighting (integrated or mounted): A monitor light bar or a strip light mounted to the back of the desk adds ambiance and reduces eye strain without cluttering the surface.
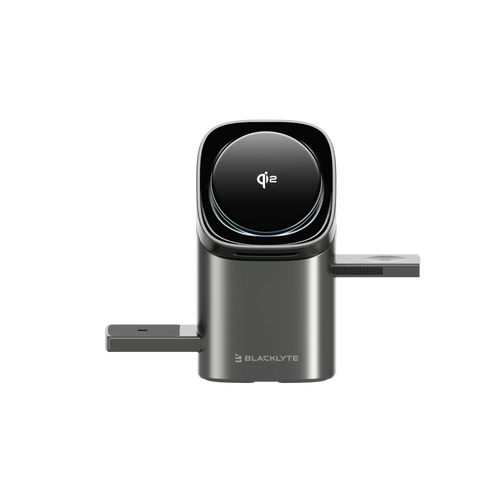
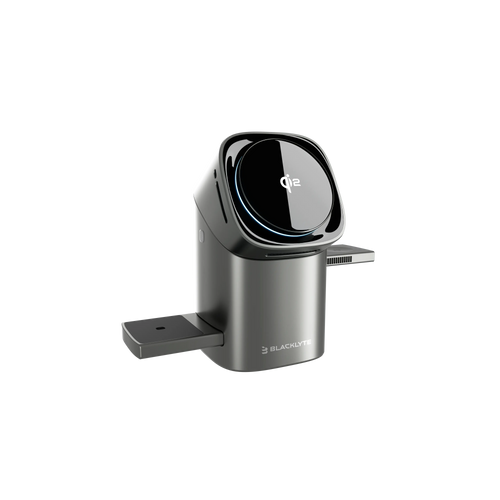
Blacklyte's accessories range is designed to integrate directly with the Atlas desk system, so magnetic attachments snap into place without requiring any additional hardware. That design philosophy — accessories that fit the desk rather than fighting it — is exactly what a minimalist build needs. Browse the full range to find pieces that complement your setup without adding visual noise.
Common Mistakes That Kill the Clean Look
Even with the right gear, it's easy to undermine a minimalist build with a few habitual mistakes. Being aware of them upfront saves you the frustration of building a clean setup that slowly drifts back into chaos.
- Too many RGB zones. RGB done well can be a sleek accent. RGB overdone — every peripheral lit independently in a different color — creates visual fragmentation. If you go RGB, sync everything to one color scheme or stick to a single ambient strip behind the monitor.
- Mismatched cable colors. If you're routing any cables visibly, white cables in a black setup (or vice versa) immediately draw the eye. Matching cable colors to the desk surface makes them far less noticeable.
- Neglecting the floor zone. A pristine desk surface loses its impact if there's a power strip, a tangle of cables, and a PC tower all visible on the floor beneath it. Cable management has to extend below the desk.
- Buying too much, too fast. The temptation is to fill every magnetic attachment point, add every accessory, and layer in every convenience item on day one. Resist this. Live with the setup for a week and only add what you actually miss.
- Ignoring cable entry points on the chair. Your chair's cables (if any) need to be managed too. A wired headset, for example, benefits from being clipped along the chair arm or routed to the desk discreetly.
Putting It All Together: Your Minimalist Build Checklist
A minimalist gaming setup is a process, not a single purchase. Start with the biggest impact decisions — desk and chair — and build outward from there. Here's a condensed checklist to guide the process:
- Choose a desk with integrated cable management and a built-in electrical socket
- Select a chair with built-in lumbar support to keep the silhouette clean
- Audit your current peripherals and switch to wireless where practical
- Route all cables through desk channels before using external management
- Mount your monitor on an arm to free up desk surface space
- Choose a single, consistent color palette and commit to it
- Use a large desk mat to unify the surface visually
- Mount your PC vertically or off the floor if you use a desktop
- Keep only what you use daily within arm's reach; store everything else
- Sync your lighting to a single zone or color to avoid visual fragmentation
The beauty of building intentionally is that you end up with a setup that genuinely supports how you play and work — not just one that looks good in photos. Blacklyte's standing desks and gaming chairs are designed with exactly this principle: every feature serves a function, every material earns its place, and the whole is greater than the sum of its parts. That's what premium ergonomic gaming furniture looks like when it's built with purpose. Explore Blacklyte's Gaming Hub for more setup guidance, ergonomics tips, and performance-focused advice to help you get the most from your battlestation.
Building a minimalist gaming setup isn't about stripping everything back until there's nothing left — it's about being deliberate with every decision so that what remains is exactly what you need, arranged exactly how it should be. The payoff is a battlestation that reduces distraction, looks genuinely impressive, and is easier to maintain than a cluttered alternative. Start with a desk that does the heavy lifting on cable management, pair it with an ergonomic chair built to last, and let the rest of the build fall into place from there. Clean lines, clear surfaces, and focused performance: that's the minimalist gaming setup done right.
Ready to build your ideal battlestation? Explore Blacklyte's full range of height-adjustable standing desks, ergonomic gaming chairs, and desk accessories — all engineered to work together for a cleaner, more capable setup. Not sure where to start? Contact our team and we'll help you find the right combination for your space, your style, and your game.


