














Look under most desks and you'll find the same scene: a tangled web of power cables, USB hubs, monitor cords, and charging bricks that somehow multiplied overnight. It's not just an eyesore. Cable chaos creates real friction in your daily workflow, makes cleaning a chore, and quietly chips away at the polished, focused environment serious gamers and professionals work hard to build. Under-desk cable trays are the single most effective fix — and once you've used one, going back feels unthinkable.
This guide covers everything you need to know about under-desk cable trays: how they work, which type suits your setup, how to install one properly, and how they fit into a broader approach to ergonomic workspace design. Whether you're building a battlestation from scratch or finally tackling a desk that's gotten out of control, the right cable tray turns a frustrating mess into a clean, intentional setup you're proud to sit down at.
Why Cable Management Actually Matters
It's tempting to treat cable management as purely cosmetic — the final flourish on a setup build rather than a functional priority. But the reality is that poor cable management creates tangible problems beyond untidy aesthetics. Cables left dangling beneath a height-adjustable desk are a serious safety risk: they can snag on the desk's lifting mechanism, causing damage to both the cables and the motorized frame. On a static desk, floor-level cabling becomes a trip hazard, and cables draped over the desk surface interfere with mouse movement and generate visual distractions during focus-intensive work or gaming sessions.
There's also an ergonomic dimension that often gets overlooked. When cables are poorly routed, they constrain how freely you can reposition your monitor, keyboard, or peripherals to find the most comfortable posture. A well-managed cable system, by contrast, gives every component its own clean run — so adjusting your setup for proper ergonomic alignment is never blocked by a tangle of cords. For anyone investing in a height-adjustable standing desk, this becomes especially critical, because the desk's full range of motion depends on cables having room to move safely.
Finally, there's the psychological effect of a clean workspace. Research in environmental psychology consistently shows that visual clutter competes for cognitive attention, increasing mental load even when you're focused on something else. A setup that looks organized simply feels better to work in — and that matters whether you're grinding ranked matches or powering through a deadline.
What Is an Under-Desk Cable Tray?
An under-desk cable tray is a mounting solution that attaches to the underside of your desk surface, creating a dedicated channel or basket to collect and route cables out of sight. Rather than letting power strips, cable bundles, and excess cord slack pile up on the floor or dangle visibly, the tray holds everything neatly beneath the desktop — invisible from the front and sides, accessible from underneath when you need to make a change.
The concept is straightforward, but the execution varies considerably. A well-designed tray doesn't just hide cables — it organizes them with intention, grouping power cables separately from data cables where possible, routing cords to the nearest wall or floor exit in the most direct path, and keeping everything accessible enough that adding or removing a device doesn't require dismantling your entire setup. The goal is a system that's clean on day one and stays clean as your setup evolves.
Types of Under-Desk Cable Trays
Not all cable trays are built the same, and choosing the wrong type for your desk or setup often means compromising on either capacity or convenience. Here's a breakdown of the main categories:
Mesh Basket Trays
Mesh basket trays are the most common style and for good reason. They consist of an open wire or metal mesh basket that screws or clamps to the underside of the desk, holding a power strip, cable bundles, and any excess slack. The open design allows air circulation (useful if you're storing a power brick that generates heat) and makes it easy to see and access everything inside. Most mesh trays are available in lengths ranging from around 30 cm to over 100 cm, so you can match the tray to your desk width. They tend to be robust, inexpensive, and compatible with nearly any desk surface.
Cable Raceways and Spine Systems
Rather than catching cables in a basket, raceway-style trays route them through a covered channel or spine that runs along the underside of the desk. This approach creates an especially clean look because cables are fully enclosed rather than visible through mesh. Raceway systems are particularly effective on desks where cable routing needs to follow a precise path — for example, from a monitor arm mount along the back edge of the desk to a wall-mounted outlet. The trade-off is that adding or removing cables requires opening the channel, which can be slightly less convenient than an open basket tray.
Clamp-On vs. Screw-Mount Trays
Beyond shape and style, cable trays are differentiated by how they attach to the desk. Screw-mount trays bolt directly into the underside of the desktop for a permanent, rock-solid installation — ideal if you're confident about your layout and don't anticipate moving the tray. Clamp-on trays grip the desk edge without requiring any drilling, which makes them a better fit for desks with finished surfaces you'd rather not perforate, or for renters who need a non-permanent solution. Clamp-on models are also easier to reposition if you rearrange your setup. The downside is that they may shift slightly under heavy loads, so they're better suited for organizing cables than for supporting heavy power strips or multiple adapters.
Integrated Cable Management Systems
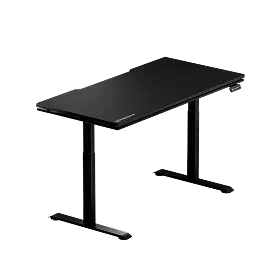
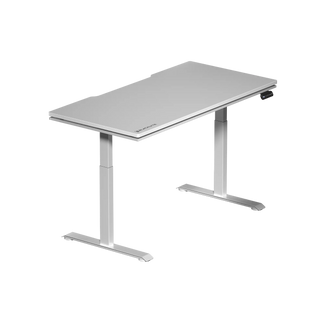
Some premium desks build cable management directly into the design, eliminating the need for an aftermarket tray entirely. The Blacklyte Atlas Desk and Atlas Lite Standing Desk both include integrated power supply and cable management features built into the desk frame — so cables are routed cleanly through the structure itself rather than handled with external accessories. For anyone building a new setup rather than upgrading an existing one, this integrated approach is the cleanest solution available and is worth factoring into the desk-buying decision from the start. You can compare both desk models here to see which suits your workspace.
How to Choose the Right Cable Tray for Your Setup
Before purchasing, it helps to think through a few practical considerations that determine which tray type will actually serve you well long-term:
- Desk thickness and material: Screw-mount trays need adequate thickness to hold fasteners securely. Very thin or hollow-core desk surfaces may not support direct screwing, making clamp-on trays the better choice.
- Cable volume: Count your cables before buying. A monitor, PC, keyboard, mouse, headset, lamp, and phone charger can generate eight or more cables easily. Choose a tray with enough basket volume or channel capacity to hold everything comfortably without cables spilling over.
- Standing desk compatibility: If your desk raises and lowers, cables must be long enough to accommodate the full height range and the tray must be positioned so it doesn't interfere with the lifting mechanism. Look for trays positioned toward the center of the desk underside rather than at the very front edge.
- Finish and aesthetics: If your desk has a minimalist or premium finish, a powder-coated steel or matte black tray will blend in far better than a bare silver wire basket. Match the tray finish to your desk's color palette.
- Load capacity: Power strips and multiple adapters add up in weight. Check the tray's stated load rating — most mesh trays handle 5–10 kg comfortably, but budget clamp-on models may have lower limits.
Taking five minutes to assess these factors before purchasing saves the frustration of a tray that doesn't fit, can't hold your cable volume, or looks mismatched with your desk aesthetic.
How to Install an Under-Desk Cable Tray
Installing a cable tray is a straightforward process that most people can complete in under 30 minutes. Here's how to do it properly:
- Clear the desk surface and unplug everything. Working with a clean slate makes it much easier to plan your cable routing and avoids accidentally pulling on live connections during installation.
- Decide on placement. Position the tray toward the rear of the desk underside, close to where cables run down to the wall outlet. For standing desks, confirm the tray won't interfere with the frame's lifting range.
- Mark and drill (for screw-mount trays). Hold the tray in position and mark the screw holes with a pencil. Pre-drill pilot holes slightly narrower than your screws to avoid splitting the desktop material, then fasten the tray firmly.
- Attach the tray (for clamp-on models). Slide the clamps onto the desk edge and tighten the mounting hardware until the tray sits level and doesn't shift when loaded.
- Load your power strip and cables. Place the power strip inside the tray first, then bundle and route each cable individually — keeping power cables and data cables separated where possible to minimize interference.
- Use cable ties or velcro straps for final tidying. Secure any remaining slack with velcro ties (reusable and easier to adjust than zip ties) and clip individual cables to the desk underside with adhesive cable clips to keep them running neatly along the surface.
The whole process is satisfying once complete, and the difference in how your setup looks and feels is immediately noticeable. Label your cables at the power strip end if you have many similar-looking cords — it saves time every time you need to trace a specific connection.
Pro Tips for a Cleaner, More Functional Setup
A cable tray is the foundation, but a truly clean setup benefits from a few additional habits and accessories working together:
- Cut cable length to fit. If you can't shorten cables, fold and tie the excess rather than letting it pool. Overly long cables are the main culprit behind re-tangling after the initial organization pass.
- Use a cable spine or sleeve for desk-to-floor runs. Where cables drop from the desk edge to the floor outlet, a braided sleeve or spiral wrap keeps the vertical run tidy and protects cables from foot traffic.
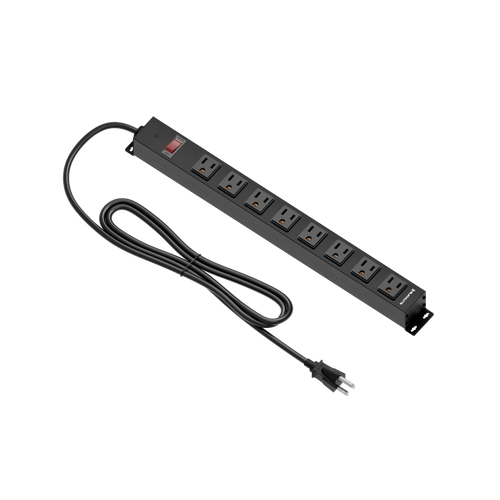
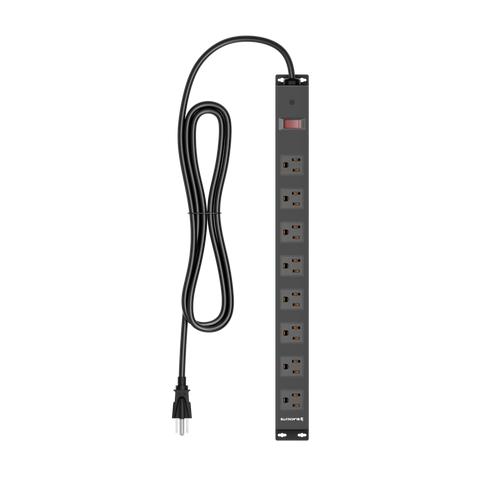
- Consolidate power at the tray. Route all power cords to a single high-quality power strip inside the tray. This minimizes the number of cables going to the wall and makes it easy to shut down your entire setup with a single switch.
- Revisit the tray every few months. Setups evolve — new peripherals get added, old ones get removed. A quick cable audit every few months keeps the tray from becoming cluttered again as your gear changes.
- Pair with a monitor arm. Monitor arms eliminate the thick monitor power and video cables that often run across the desk surface, since the cables can be routed through or along the arm instead. Combined with a cable tray, this typically reduces visible cabling by 80% or more.
Cable Management and Your Desk: The Full Picture
Cable management and desk choice are more connected than most people realize at first. A desk with built-in cable routing, integrated power, and a surface designed to hide or route cords changes what's possible with under-desk organization. It's the difference between fighting your furniture and having it work with you. Blacklyte's Atlas Desk and Atlas Lite Standing Desk are designed with this in mind, incorporating integrated cable management and power supply into the desk structure so that the cable tray problem is largely solved before you even sit down.
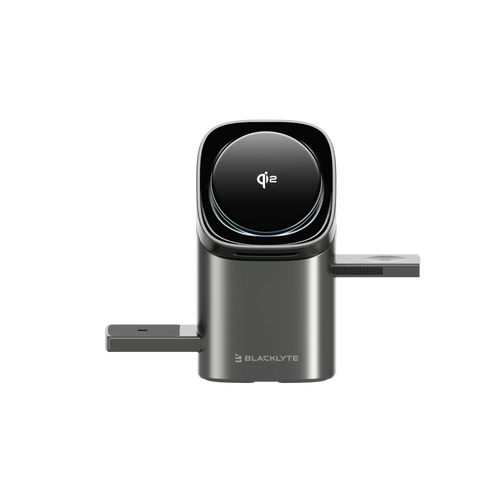
For those building or upgrading a full workspace, it's worth looking at the setup holistically. The desk is the foundation of your workspace ergonomics, the chair determines how your body interacts with that workspace, and cable management determines how cleanly the whole system operates day to day. Blacklyte's accessories range is built to complement this ecosystem — and if you're starting fresh, the Blacklyte ergonomics guide is a useful place to understand how desk height, monitor positioning, and seating posture all interact before you make purchasing decisions.
A clean cable setup isn't a luxury — it's a sign that you've thought carefully about your workspace. Once the cables are handled, everything else about your setup becomes easier to appreciate, from the surface of the desk to the chair you're sitting in. It's a small investment with a disproportionately large impact on how your space looks, functions, and feels every single day.
The Bottom Line
Under-desk cable trays are one of the highest-value, lowest-effort upgrades you can make to any workspace. They remove visual clutter, protect cables from damage, support better ergonomic flexibility, and make your entire setup feel more intentional. Whether you choose a simple mesh basket, a clean raceway system, or a desk with integrated cable management built in from the factory, the outcome is the same: a workspace that works as well as it looks. Start with a cable audit, pick the right tray for your desk type, and take the 30 minutes to install it properly. You'll wonder what took you so long.
Ready to Build a Cleaner, Smarter Setup?
Explore Blacklyte's full lineup of desks and accessories — engineered with integrated cable management, smart features, and premium build quality to elevate your workspace from the ground up.


