












A tangled mess of cables, a monitor perched on a wobbly stand, and a desk that looks more like a tech graveyard than a battlestation — if that sounds familiar, you are not alone. Most gaming setups start organized and drift into chaos one peripheral at a time. The good news is that building a genuinely clean gaming setup is less about perfection and more about having a clear plan, the right gear, and a foundation designed to support order from the start.
This guide walks you through every layer of a cable-free, clutter-free gaming setup — from choosing a desk with built-in cable management to the small organizational habits that keep everything looking sharp long after the initial build. Whether you are starting from scratch or reworking an existing station, the principles here apply at every level.
Why a Clean Gaming Setup Actually Matters
A clean desk is not just an aesthetic preference — it has measurable effects on performance and comfort. Research into organized workspaces consistently shows that physical clutter competes for attention, introducing low-level cognitive load that chips away at focus during long sessions. For competitive gamers, that distraction cost is real. Beyond the mental game, cable chaos creates tangible risks: wires routed across the floor become tripping hazards, cables stretched tight during a height adjustment can strain connectors, and bundled cords blocking airflow around your PC can contribute to thermal stress over time.
There is also a practical maintenance argument. Organized cables are faster to troubleshoot, easier to replace, and far less likely to accumulate the dust buildup that insulates heat and shortens hardware life. A clean setup protects your investment as much as it improves your experience. The goal is a workspace that looks intentional, performs reliably, and stays manageable as your gear evolves.
Step 1: Start With the Right Desk
Your desk is the foundation of every cable decision you make. A desk with no cable management infrastructure forces you to improvise with third-party clips, adhesive mounts, and solutions that rarely look or function as well as built-in systems. The cleanest setups almost always start with a desk engineered for the job.
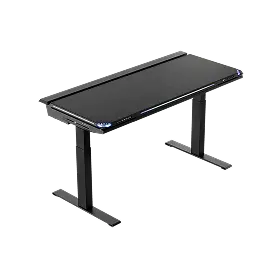
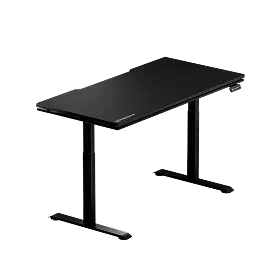
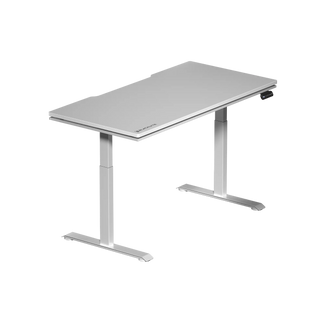
The Blacklyte Atlas Desk and Atlas Lite Standing Desk are purpose-built for clean gaming and work setups. Both feature integrated cable management channels that route and conceal cords without afterthought, along with a built-in electrical socket so your peripherals draw from a single organized point rather than a tangled web of adapters behind the desk. The Atlas's magnetic surface also supports magnetic cable anchors, letting you snap accessories and cable guides exactly where you need them — and reposition them just as easily. On the Atlas, smart lighting is managed through the proprietary Atlas Driver software, so even your ambient setup stays coordinated and clean. For a full comparison of the two desk models, check out Blacklyte's desk comparison page.
If you are working with an existing desk, the same principles apply — you will just need to invest more in cable management accessories (discussed in the next section). Either way, start by measuring your available cable run paths before buying any sleeves, trays, or clips.
Step 2: Master Your Cable Routing Strategy
Cable management is not a product — it is a strategy. The cleanest setups treat cable routing as a three-zone system: the desktop surface, the under-desk space, and the vertical run to the floor or wall. Solving all three is what separates a genuinely clean setup from one that looks tidy from one angle and chaotic from another.
Zone 1: Under the Desk
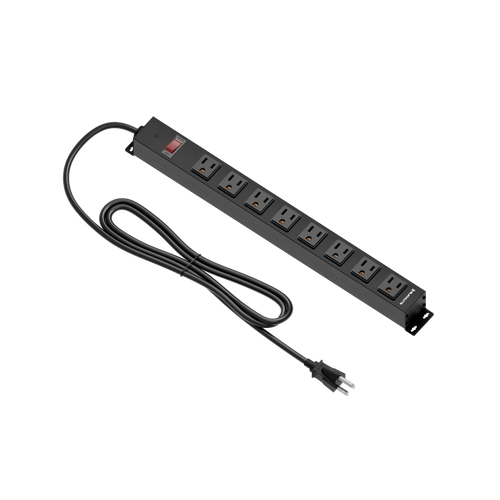
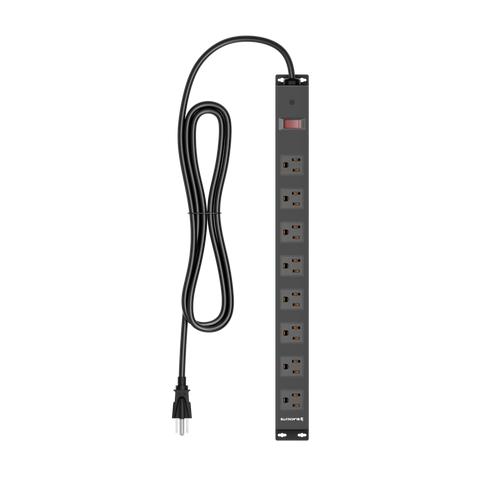
This is where the heaviest lifting happens. A cable management tray mounted to the underside of your desk creates a dedicated home for your power strip, excess cable length, and adapter bricks — keeping all of it invisible from seated eye level. Group cables by function before routing them into the tray: power cables together, display cables (HDMI, DisplayPort) together, peripheral and audio runs separately. This separation makes future changes faster and reduces electromagnetic interference between power and data lines.
Zone 2: The Vertical Run
On a height-adjustable standing desk, the vertical cable run is where most setups fail. As the desk travels between sitting and standing height, cables that are routed too tight will strain connectors and potentially stall the lift motor. The solution is a cable spine — a flexible channel that attaches to the desk leg and moves with the desk — combined with deliberate service loops. Build a gentle U-shaped loop into each cable that needs to accommodate movement, with enough slack to reach full standing height comfortably without pulling. Magnetic cable channels that attach to a steel desk frame offer the most seamless solution, moving cleanly with every height adjustment.
Zone 3: The Desktop Surface
Once cables reach the desktop, adhesive cable clips and reusable Velcro ties keep them routed along the desk's rear edge rather than sprawling across the surface. Run monitor cables and peripheral cords behind the desk's back rail where possible. If your desk does not have a built-in rear cable channel, adhesive clips placed at intervals of around 15–20 cm create a tidy, consistent run. The goal is a desktop where only the device you are actively using occupies center stage — not its power cable.
Essential cable management tools to have on hand:
- Reusable Velcro cable ties — gentler on cables than zip ties and adjustable as your setup changes
- Under-desk cable tray — the single most impactful addition to any setup
- Cable sleeves — bundle multiple cables into one clean visual run
- Adhesive cable clips — precise routing along desk edges and legs
- Cable labels — critical for setups with six or more cables; makes troubleshooting fast
Step 3: Clear the Surface With Smarter Peripherals
Cable management alone will not give you a clean desk if your surface is crowded with hardware. The next layer of organization is about reclaiming real estate through smarter peripheral placement — and the monitor stand is the first thing to address.
Traditional monitor stands occupy a surprising amount of desk depth and height, leaving little room for keyboards, mice, or any breathing space in front of the screen. A monitor arm solves this immediately. By lifting the screen off the desk entirely, a monitor arm frees up the footprint previously occupied by the stand, allows cables to run cleanly through the arm's integrated channels, and positions the screen at true eye level — which is where it should be for neck and back health during long sessions. For multi-monitor setups, dual monitor arms are especially effective at eliminating the visual chaos that two separate stands create.
A headset stand or wall-mounted hook also makes a significant difference. Headsets left lying on the desk consume space and contribute to the visual clutter that makes a setup feel busy. A dedicated stand positioned to the side or rear of the desk keeps your headset accessible without dominating the workspace. Similarly, an under-desk cable tray or a rear-mounted channel consolidates the short cables from peripherals into a single routed run rather than six individual cables all reaching back to your PC or monitor.
You can browse Blacklyte's full range of desk gaming accessories designed to complement a clean setup — from cable management add-ons to desk-mounted organizational tools.
Step 4: Go Wireless Where It Counts
Wireless peripherals have matured significantly. Modern wireless gaming mice operate with polling rates and latency figures that are competitive with wired counterparts in virtually every genre except the highest tier of competitive play. Wireless keyboards are similarly refined. Removing even two or three peripheral cables from your desktop surface dramatically reduces routing complexity and gives the desk a cleaner, more spacious feel.
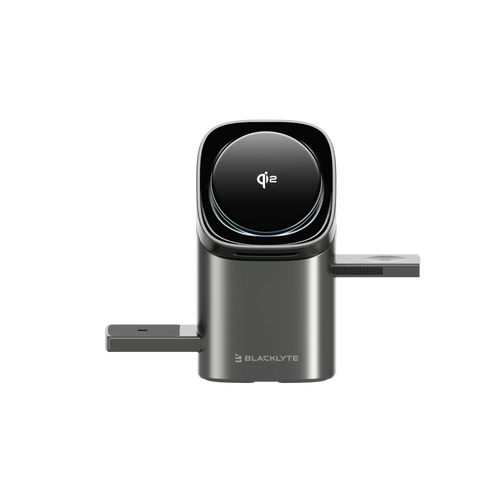
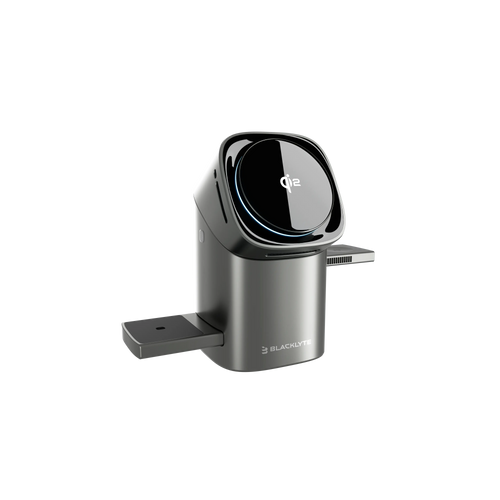
The trade-off is battery management — but with most flagship wireless peripherals now delivering 40–80 hours of battery life per charge, this is rarely a real inconvenience. A wireless charging pad placed at the desk's edge can handle your mouse and headset simultaneously without adding cable clutter. The principle is simple: every cable you eliminate from the desktop surface is a cable that no longer needs to be routed, bundled, or replaced.
That said, some connections are better left wired. Your monitor's display cable (HDMI or DisplayPort) carries more data than wireless alternatives can reliably handle, and your Ethernet connection will always outperform Wi-Fi for low-latency online gaming. Route these two critical cables cleanly using the tray and clip system described above, and let your peripheral connections go wireless.
Step 5: Add Lighting Without Adding Chaos
RGB lighting is one of the fastest ways to undermine a clean gaming setup if it is not planned carefully. Light strips with loose power adapters, controllers mounted with double-sided tape, and adapter bricks dangling off the desk edge all add visual noise that works against the clean aesthetic you have been building. The solution is to plan lighting as part of your cable architecture, not as an afterthought.
Desk-mounted or monitor-mounted light bars that draw from a single low-profile power lead are the cleanest option — one cable, no bulky adapter, routed along the monitor arm or desk's rear cable channel. For under-desk or ambient room lighting, LED strips that plug into your desk's built-in electrical socket (as on the Blacklyte Atlas Desk) eliminate the need for a separate wall-outlet run entirely. When using a desk with smart lighting controls like the Atlas's Atlas Driver software, you can synchronize your ambient setup without introducing additional controller hardware.
The general rule: every light in your setup should have a planned cable path before it gets mounted. Retrofitting lighting cable management after the fact is significantly harder than planning for it from the start.
Step 6: Align Ergonomics With Aesthetics
A clean setup should also be a comfortable one. The two goals are not in tension — in fact, the ergonomic choices that keep your body healthy tend to produce cleaner visual results as well. A monitor at true eye level (which requires a monitor arm or height-adjustable desk) keeps your cables organized behind the display rather than pooling on the desk. A chair at the right height positions you closer to the desk with a natural reach, reducing the cable length needed for your keyboard and mouse connections.
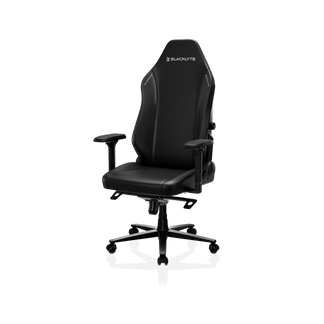
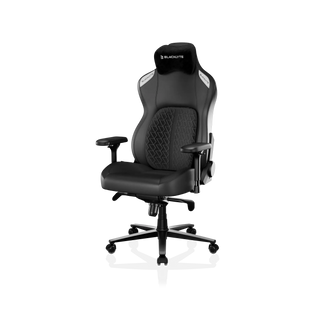
Your gaming chair is part of this equation. A well-positioned ergonomic chair supports the neutral spine posture that makes long sessions sustainable — and when your chair fits your body correctly, you are less likely to unconsciously shift your setup around it in ways that disturb your cable routing. Blacklyte's gaming chair lineup — the Kraken Pro, and Athena Pro — each features 4D armrests across the full lineup, a Class 4 hydraulic gas piston for precise height adjustment, and a recline range of 90° to 149°, giving you the flexibility to dial in posture without rearranging your entire setup around an uncomfortable seating position.
The Kraken Pro is the high-end option in the lineup, with a built-in floating lumbar offering front/back fine-adjustment, an aluminum alloy base, and high-density contour foam seating. The Athena Pro is Blacklyte's flagship model, featuring a built-in 4-way adjustable lumbar system (adjustable both up/down and front/back), plus memory foam over a contour-foam core, infused with bamboo charcoal and silver ions for extended session comfort. Not sure which chair fits your body and session style? Use Blacklyte's chair comparison tool to find the right match, or explore the Gaming Hub for ergonomics guidance tailored specifically to gaming.
Step 7: Maintain Your Setup Over Time
A clean gaming setup is not a one-time build — it is a system that requires occasional upkeep to stay functional. Cables accumulate dust, new peripherals introduce new routing challenges, and the inevitable addition of a new monitor or controller can quickly unravel an otherwise tidy arrangement. Building maintenance habits into your routine from the start prevents the slow drift back toward clutter.
Practical maintenance habits worth keeping:
- Monthly cable inspection — check for fraying, tight bends, and any signs of heat stress, particularly around power adapters sitting inside enclosed trays
- Dust removal — wipe down visible cables and vacuum under-desk tray zones during your regular cleaning routine; dust buildup on cables can trap heat around connectors over time
- Label updates — when you add a new device or reroute cables, update your labels; unlabeled cables in a complex setup become a troubleshooting problem immediately
- Slack testing on standing desks — after any setup change, cycle the desk through its full height range to confirm that no cables are pulling tight at maximum standing height
- Future-proofing — leave capacity in your cable trays and Velcro bundles for one or two additional cables; retrofitting a completely full tray when you add a peripheral is far more disruptive than building in a little breathing room from the start
The investment in a proper setup pays off over time not just in aesthetics but in hardware longevity and reduced troubleshooting time. A desk where every cable has a place and every peripheral sits exactly where it belongs is a desk that works as hard as you do.
Ready to explore the full Blacklyte ecosystem? Browse all gaming desks, all gaming chairs, and all accessories — or visit the full product collection to start building your ideal setup.
Build Clean, Play Better
A clean gaming setup is a compound investment. The right desk provides the infrastructure. Smart cable routing eliminates the clutter at its source. Wireless peripherals and a monitor arm open up the surface. And an ergonomic chair ties the physical experience together so your posture supports your performance rather than fighting it. None of these steps are complicated in isolation — but doing them in the right order, with the right gear, is what separates a setup that looks great in photos from one that stays clean, functional, and comfortable through years of serious gaming.
Blacklyte products are designed with exactly this integration in mind — a standing desk that manages cables by default, chairs engineered for bodies that spend hours at those desks, and accessories built to complement both. Trusted by over 200,000 gamers across 50+ Countries & Regions, and backed by partnerships with esports organizations including Team Liquid, Fnatic, and tournament organizer BLAST, Blacklyte brings two decades of focused expertise to every element of the gaming workspace. Your setup deserves that level of intent.
Have questions about building your ideal gaming setup? The Blacklyte team is here to help — from choosing the right desk and chair combination to figuring out the best cable management path for your space.
Contact Us and we will help you put it all together.


